Reference Documentation 1.0.0
Table of Content
Following you will find the reference documentation corresponding to the 1.0.0 version. If you need an other version use one of our released versions.
- Table of Content
Starting with M2Doc
First a have look at the M2Doc’s overall architecture available on the Overview page.
Then you probably want to start with the Download section.
Ready to try M2Doc! You might have one of the following roles:
Template user
You already have the template and want to generate the document:
- see Generate a document
- see Maven (optional)
Template developper
You want to create your own template:
- see Template authoring
- see Provide new services (optional)
- see Validating a generation (optional)
- see Template testing (optional)
Integrator
You want to provide document generation in your own project using M2Doc:
- see Using M2Doc programmatically
- see Using AQL programmatically (optional)
Generating a document
To generate a document you will need at least a template file (.docx file) and a generation configuration model (.genconf file). If you don’t have the template you can read the template authoring section. To create a generation model file you can read the initialize generation section.
Launching a generation
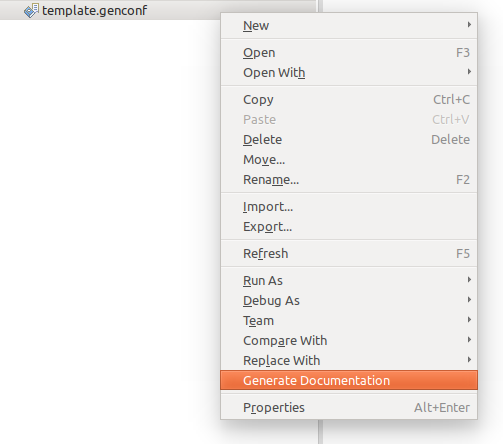
To launch a generation you can right click on the generation configuration model (.genconf file) or the Generation object and select the «Generate Documentation menu» as shown here:
If you don’t have the the generation model configuration file you can create it using the initialize generation section.
Initializing a generation configuration
To initialize a generation configuration you will need a template file (.docx file). If you don’t have the template you can read the template authoring section.
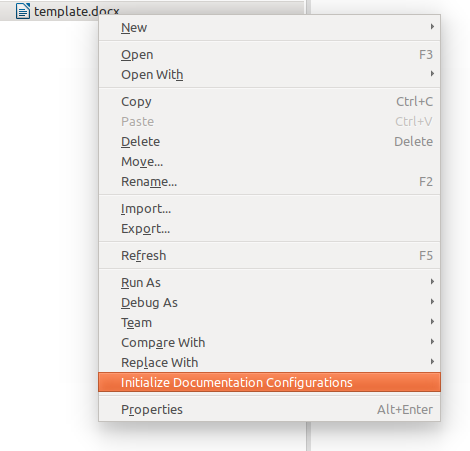
Right click on the template file and select the «Initialize Documentation Configuration» menu:
To edit the created generation model file you can use the generation configuration editor.
Validating a generation setup
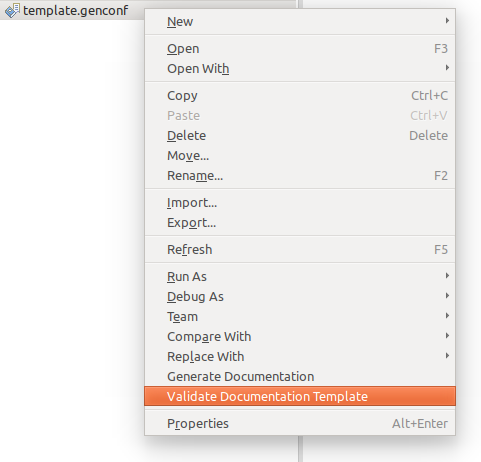
To validate a generation setup (template plus generation configuration) you can right click on the generation configuration model (.genconf file) or the Generation object and select the «Validate Documentation menu» as shown here:
If you don’t have the the generation configuration model file you can create it using the initialize generation section. If the validation succeeds with no informations, warnings, or errors you will be prompted. If something went wrong a .docx file with the name of the template and suffixed with «info», «warning», or «error» will be created. This new file contains details of the validation issues. The template is not modified.
Generation configuration editor
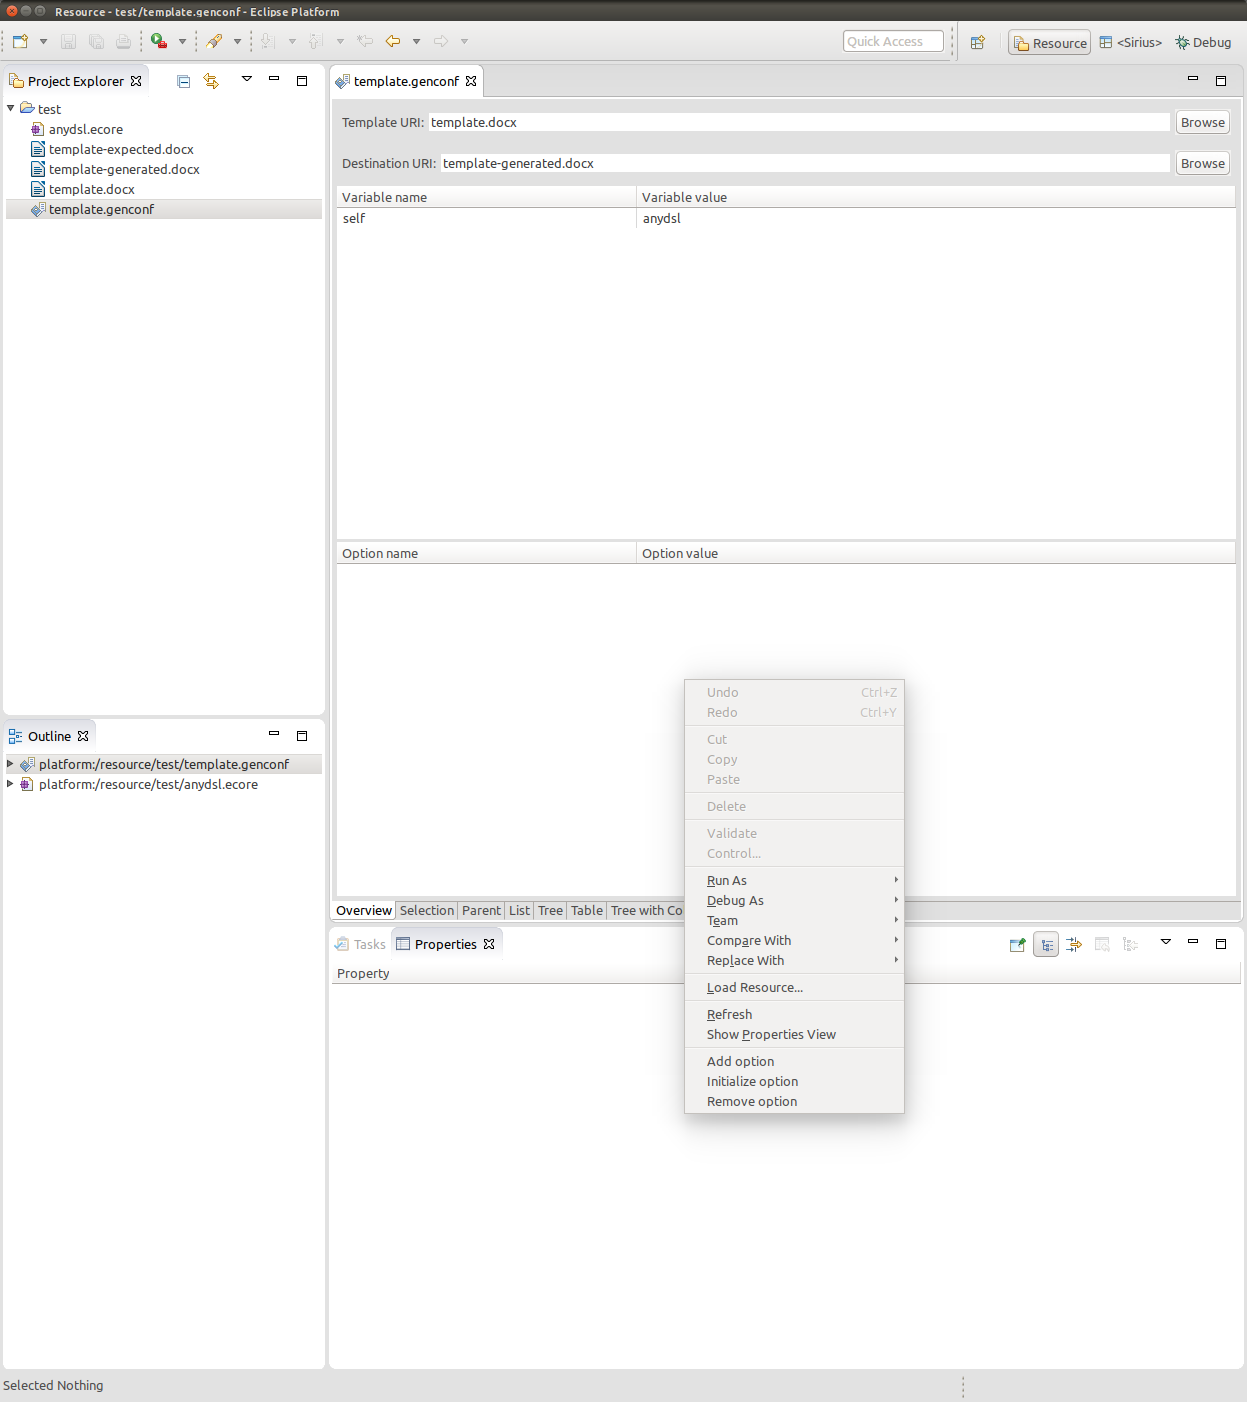
The generation configuration model (.genconf file) references the template URI and the result URI. It also binds the variables defined using the template editor to the desired value. It can also contain a set of options to configure specific services.
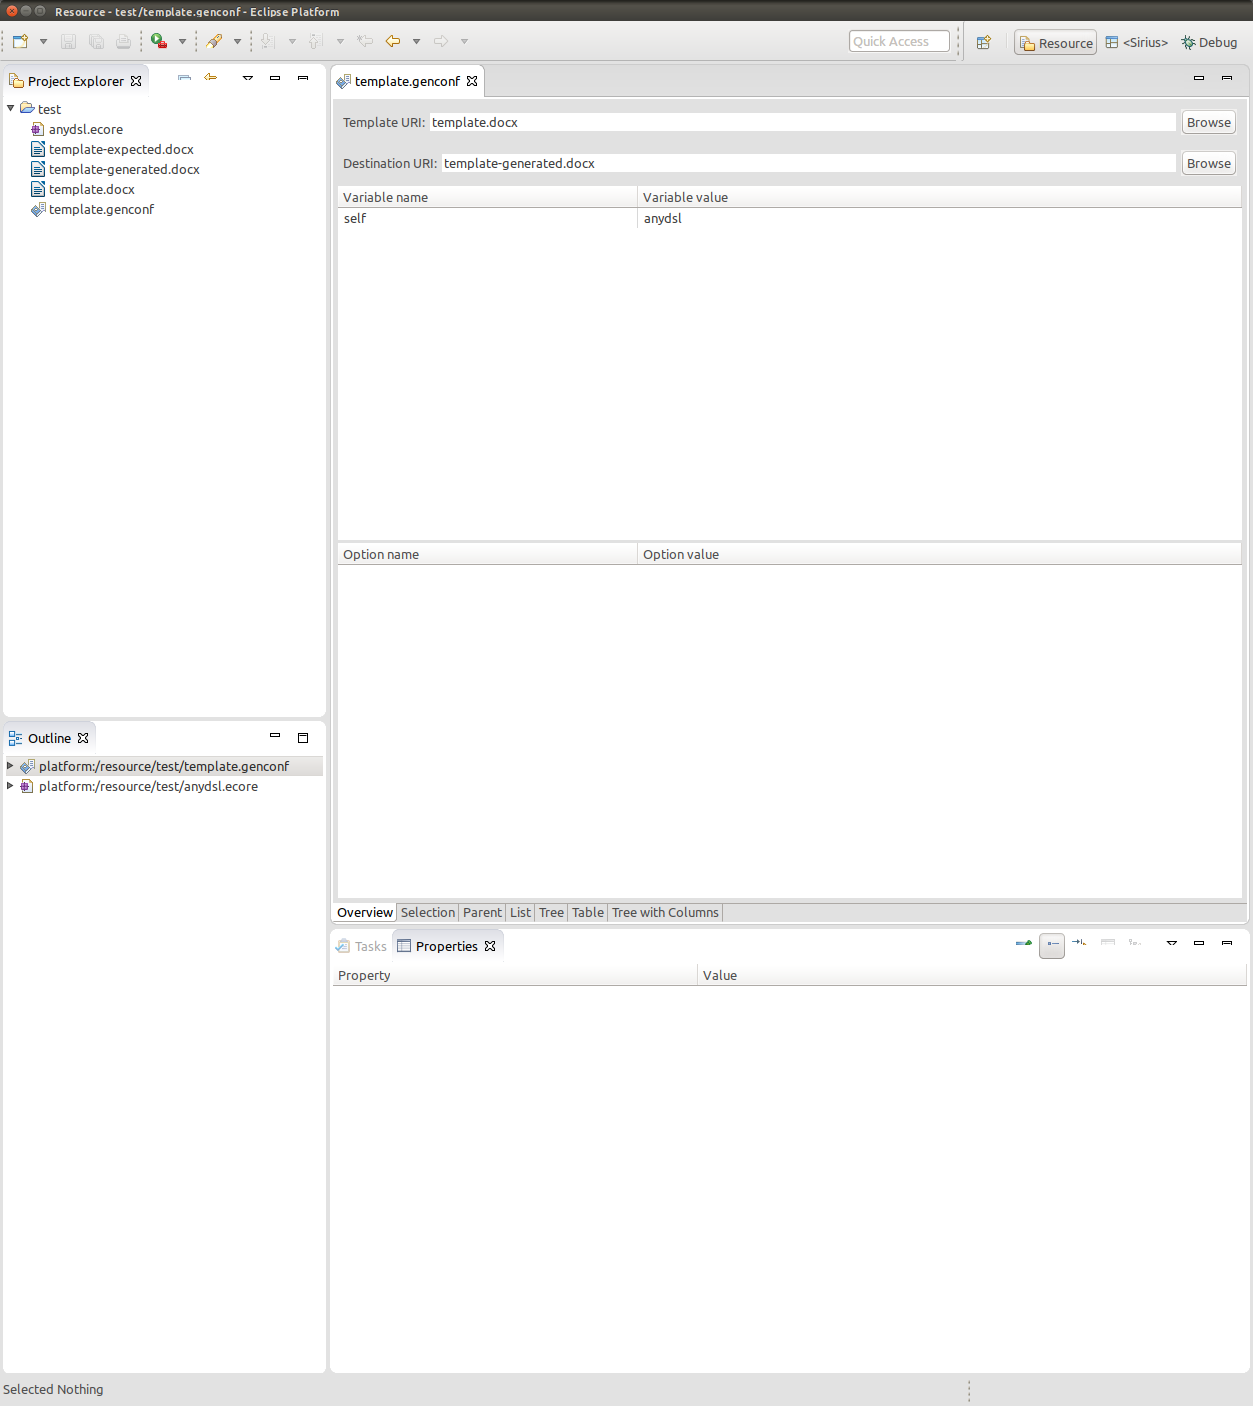
In this example we reference the template named «template.docx» using a relative URI and the result URI is set to «template-generated.docx». All relative URI are relative to the .genconf file, note absolute URI can be used as well.
The first table of the editor is used to bind variables. The first column is the variable name and the second column is its value. The value can be a reference to an EMF model element, or be a primitive type value. Two menus are accessible using right click on the variable table.
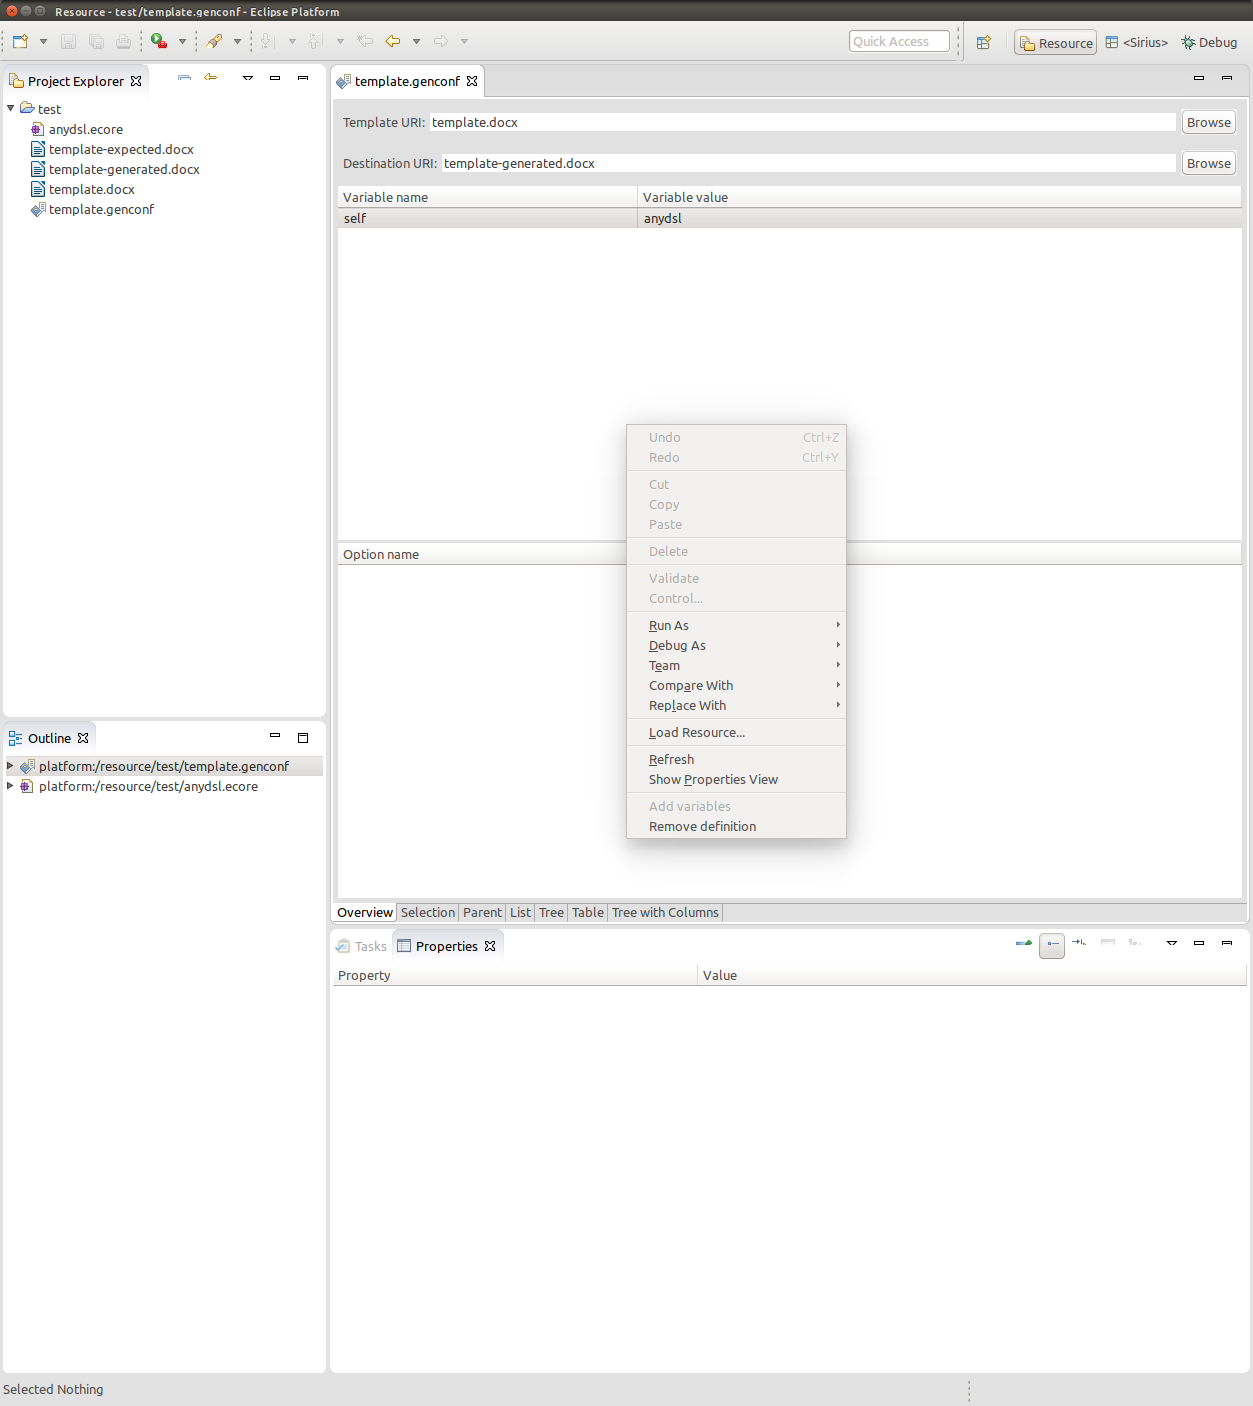
Add variableswill add all variables defined in the referenced template. To define variables you can use the template editorRemove definitionwill remove the selected bindings
Another menu can be useful to set EMF model values. It’s the «Load Resource…» menu. It adds the EMF elements of the selected resources to possible values of a variable.
The second table of the editor at the bottom can be used to set options for specific services. For instance if you use the Sirius integration an option should be set to define the Sirius session model. Three menus are accessible using right click on the option table.
Add optionwill add an option (see services with custom constructor for more details)Initialize optionwill initialize an option (see services with custom constructor for more details)Deletewill delete the selected options
Template authoring
The template should be edited using your Microsoft Word document editor. M2Doc uses Word fields to declare dynamic elements. To make fields visible during the edition of your template in Microsoft Word, use ALT+F9. To insert a new field, use CTRL+F9.
Syntax
All syntax elements of M2Doc should be placed into fields using ALT+F9 to show fields and CTRL+F9 to insert a new field. M2Doc is an imperative template language built on top of AQL for querying. The language supports type inference and can be extended using custom services.
In the following table{ and } denote a Word field.
Comment (example)
A simple comment, nothing is generated.
{m:comment any text}
Static statement
Anything that is not a M2Doc field is generated as is.
Query (example)
The AQL expression is evaluated and its result is inserted in the generated document. M2Doc services and provided services can be used. Some specific return types will be interpreted by M2Doc.
{m:AQL expression}
Conditional (example)
If the condition is true the «then block» is inserted in the generated document. if it’s false and the «else if» condition is true the «else if block» is inserted. if all condition are false the «else block» is inserted. You can have zero or more «elseif blocks», zero or one «else block». All AQL expressions should evaluate to a Boolean.
{m:if AQL expression}
...then block...
{m:elseif AQL expression}
...else if block...
{m:else}
...else block...
` {m:endif}`
Repetition (example)
Generates the «repetition block» for each value of the AQL expression.
{m:for variable | AQL expression} ...repetition block... {m:endfor}
Let (example)
Declares a variable named «variable» with the result of the AQL expression as its value. The variable is accessible in the «let block».
{m:let variable = AQL expression} ...let block... {m:endlet}
Bookmark (example)
Generates a bookmark with the result of the AQL expression as identifier and the «bookmark block» as content.
{m:bookmark AQL expression} ...bookmark block... {m:endbookmark}
Link (example)
Generates a link to the bookmark with the given identifier and text.
{m:link AQL expression AQL expression}
The first AQL expression id the identifier and the second one is the text to display.
User Documentation (example)
Generates a user content block in the resulting document. If the generated document exists and already has a user content with the same id the previous user content is preserved, otherwise the «userdoc block» is generated.
{m:userdoc AQL expression} ...user block... {m:enduserdoc}
If a user content exists in a previously generated document and the id is not re-generated, the user content will by removed from the generated document and saved in a «lost» file.
If you want more examples of templates you can have a look at the nominal cases in unit tests.
Services
All AQL services are available. On top of that, specific services are provided by M2Doc. See the following reference documentation. If you don’t find your needs in this list, you can provide custom services.
Template editor
The template editor can set M2Doc-specific custom properties in your Word template. Those properties are used to define variables, EMF packages URIs, and service imports. When editing a template you need to be in a Java or a plug-in project to be able to add services. The template editor modifies template custom properties. You can also read template custom properties section to change them manually.
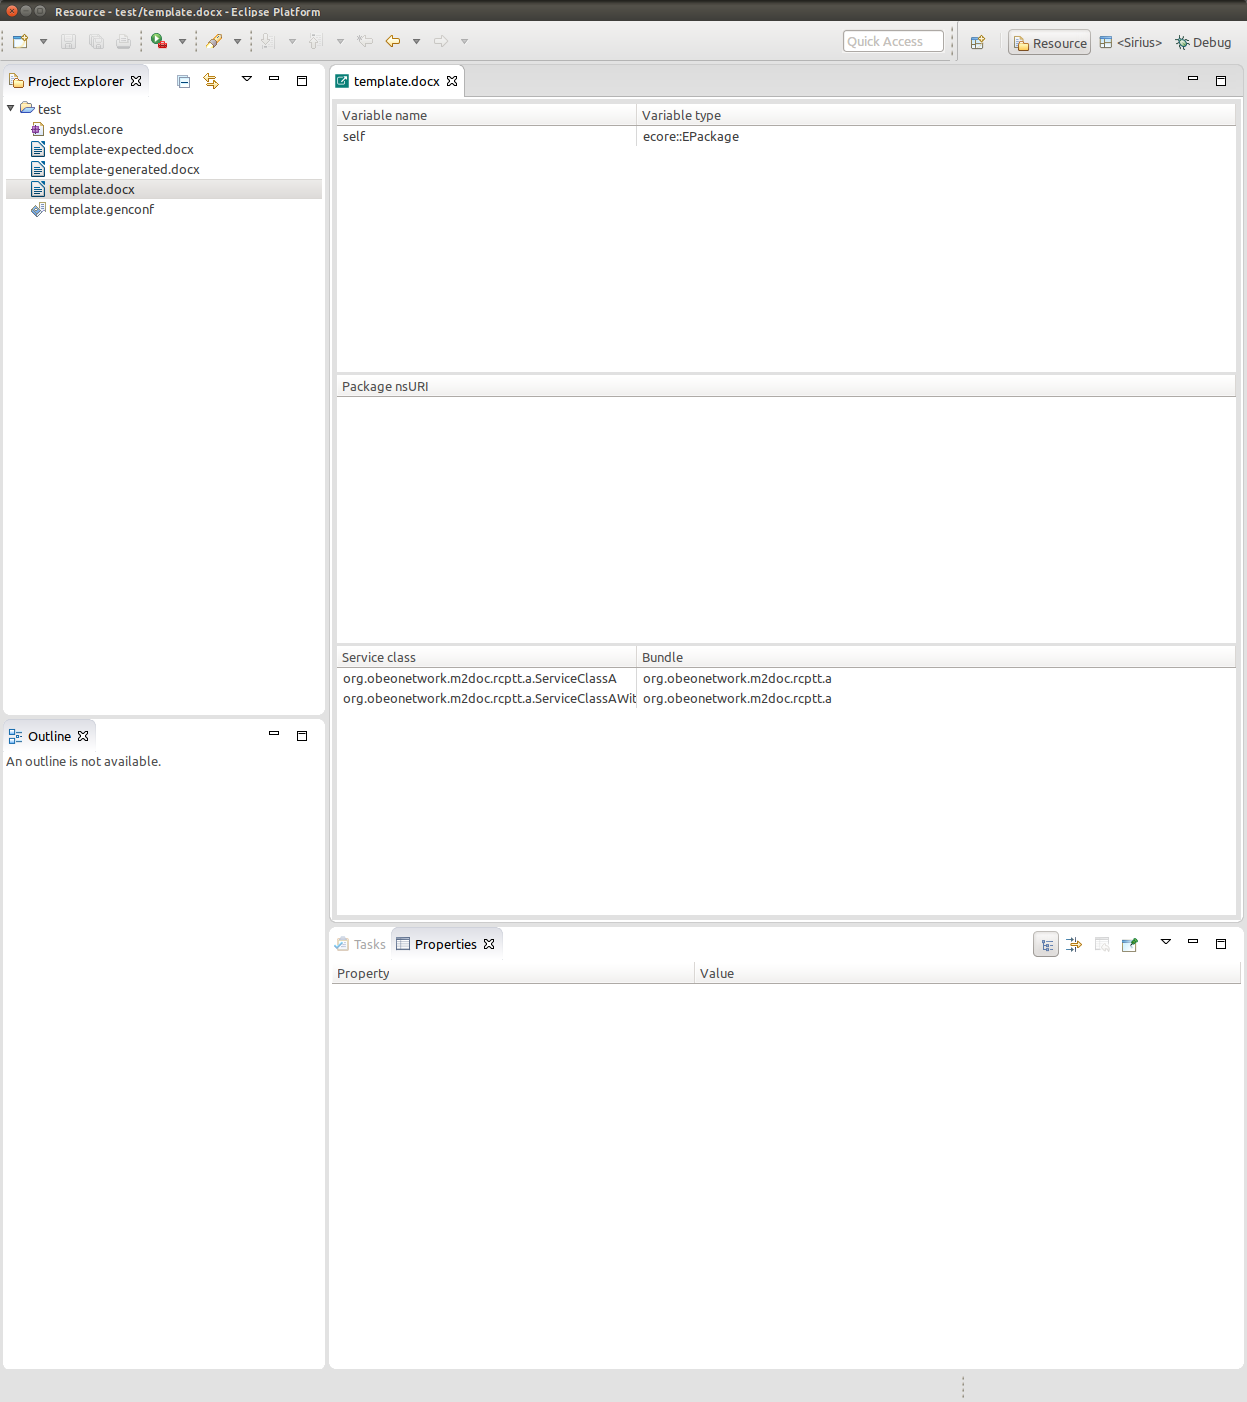
The first table at the top lists variables needed by the template. Each variable has a declared type. This type is used to validate the template and to select a value in the generation configuration editor. Three menus are accessible using right click on the variable table.
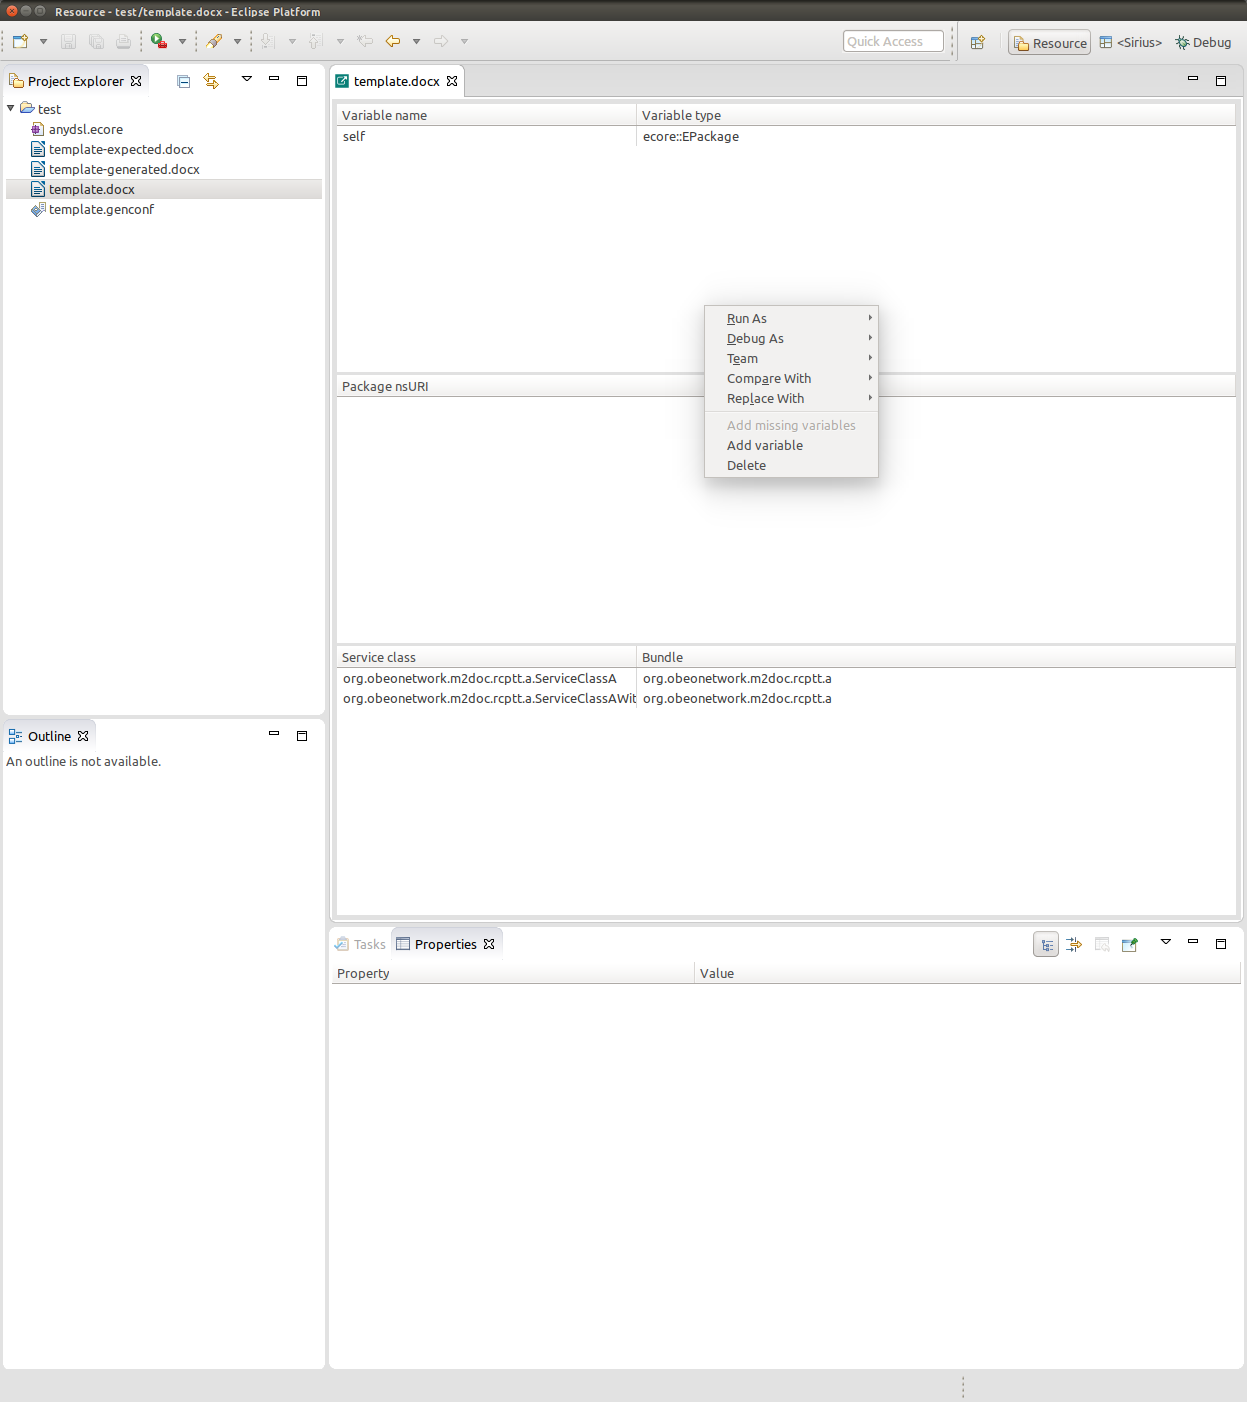
Add missing variableswill add all variables used in the template but not declared yet.Add variablewill add a variableDelete variablewill delete selected variables
The second table in the middle lists packages used in the template. It reference EMF EPackages used to type expressions in the template. Two menus are accessible using right click on the package table.
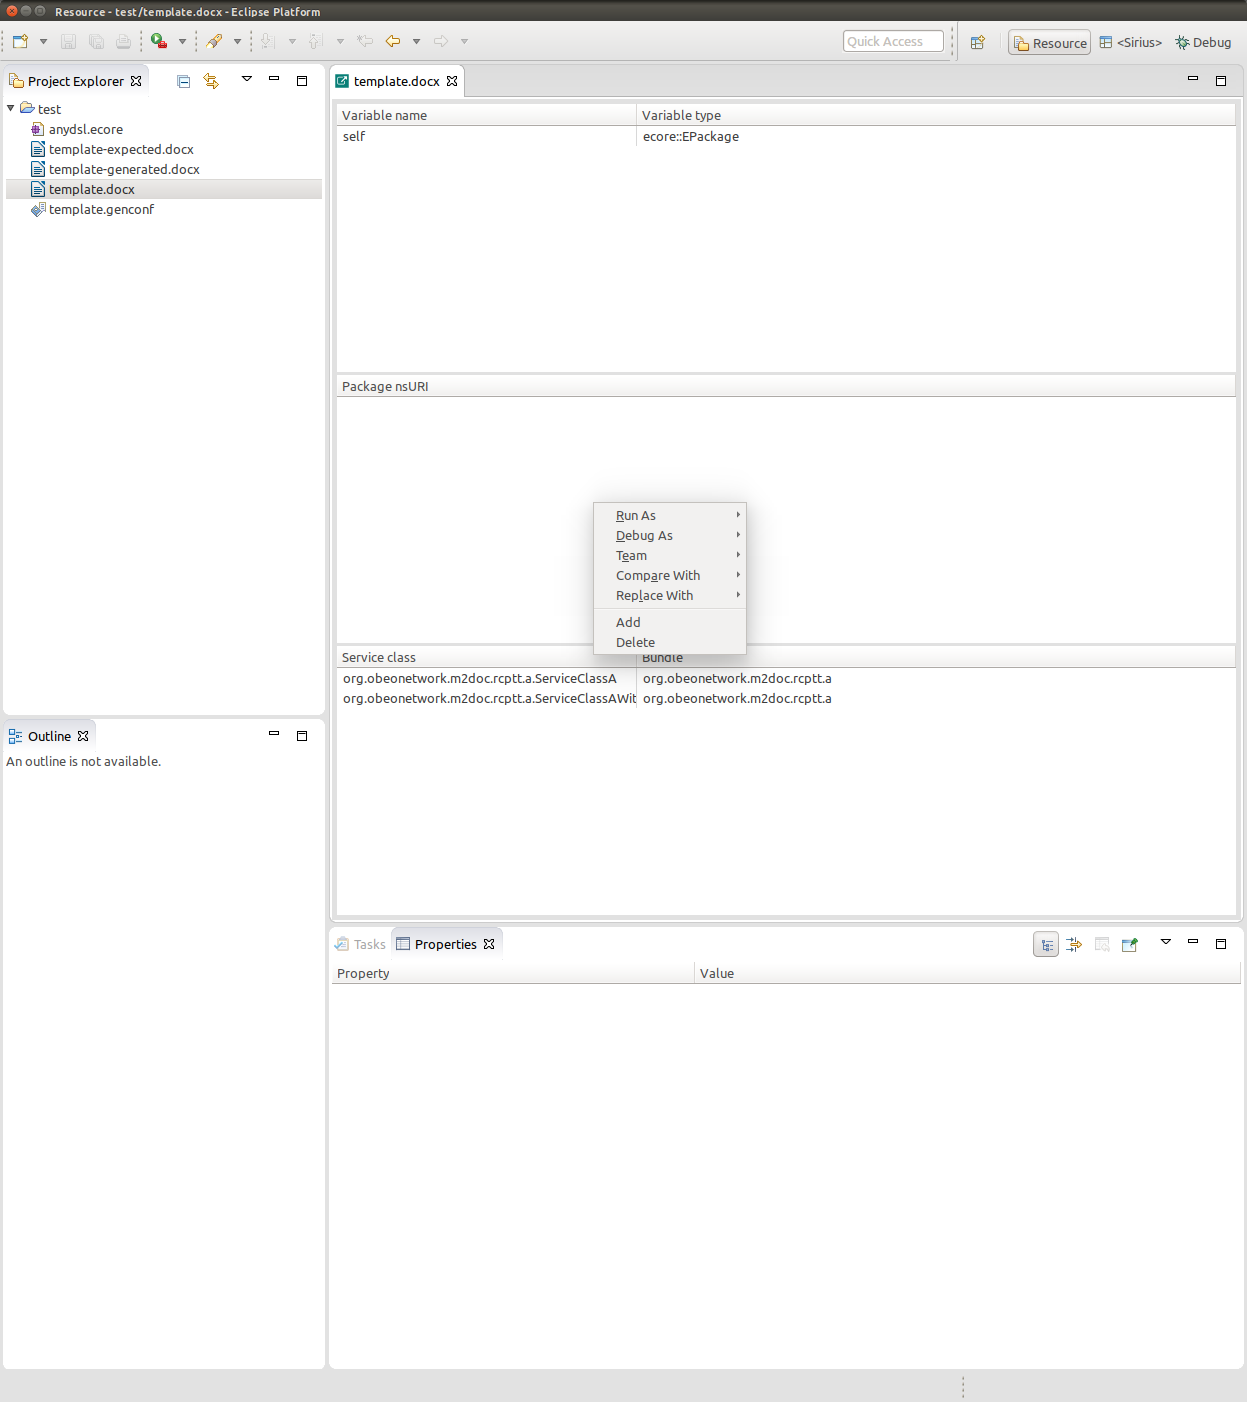
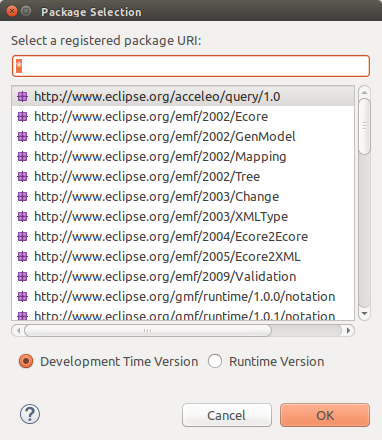
Addwill open the following dialog to add selected packages
Deletewill remove the selected packages
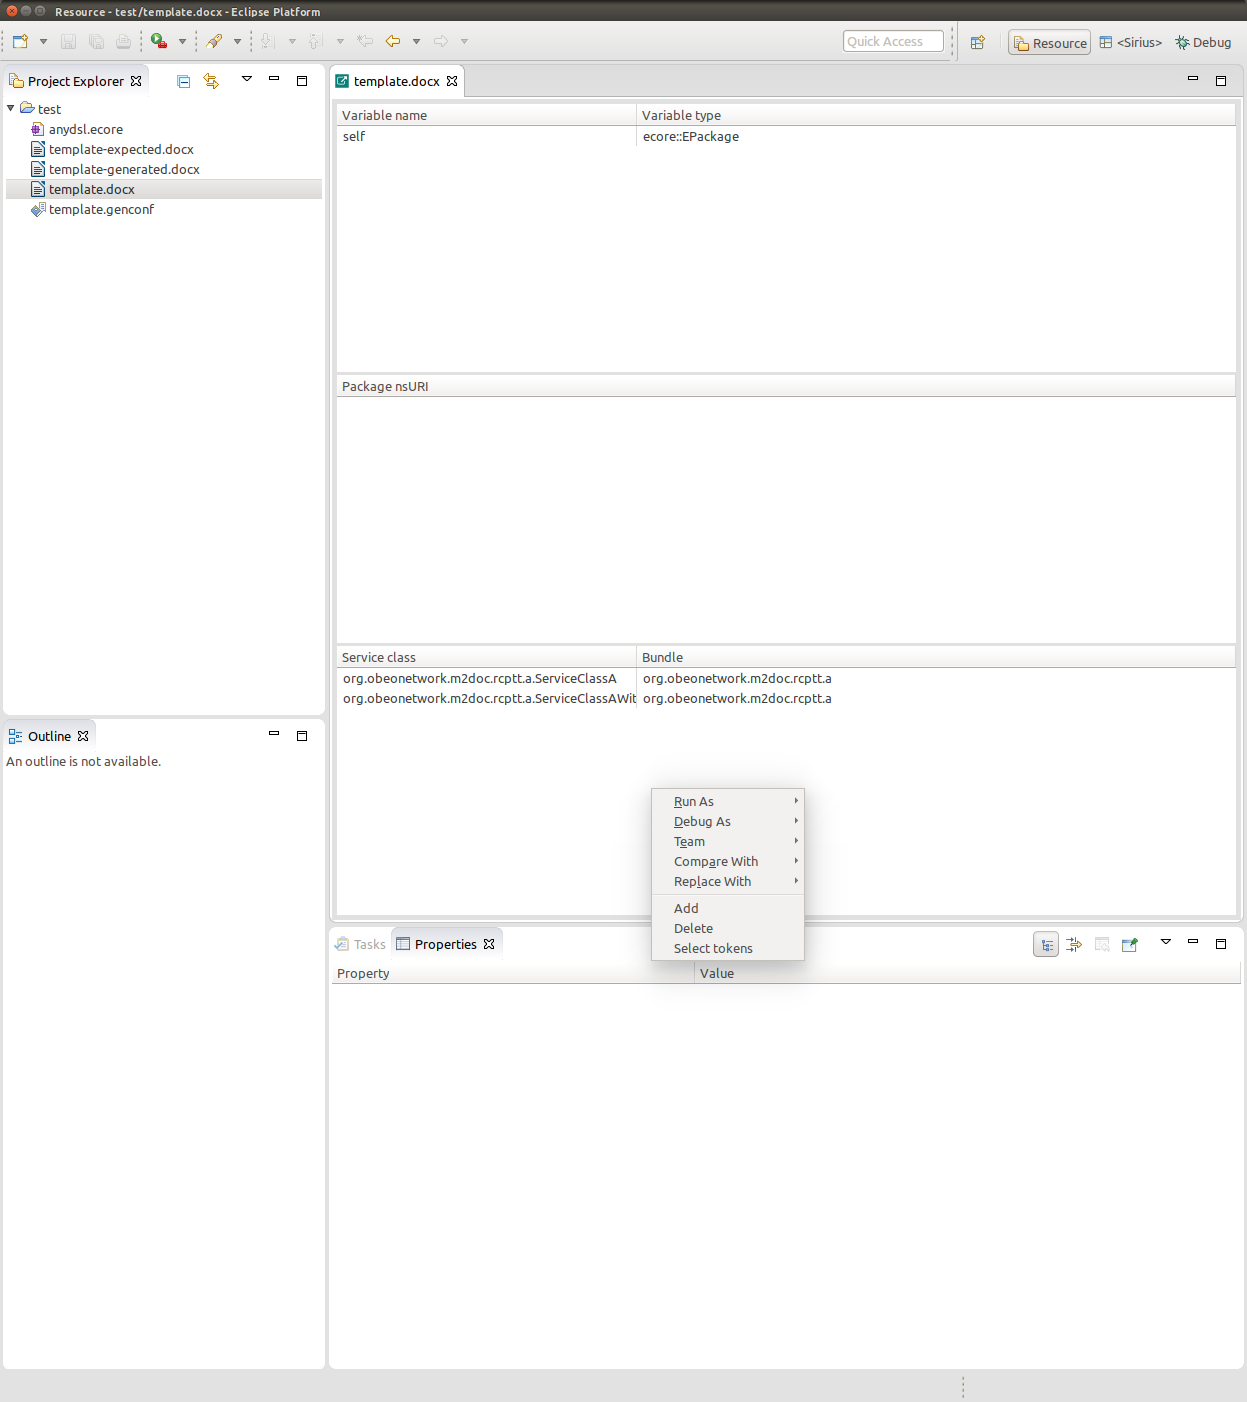
The last table at the bottom lists services used in the template. If you have created your own services you can add them here to be able to use them in the template. Three menus are accessible using right click on the service table.
Addwill open a dialog where you can select a Java class
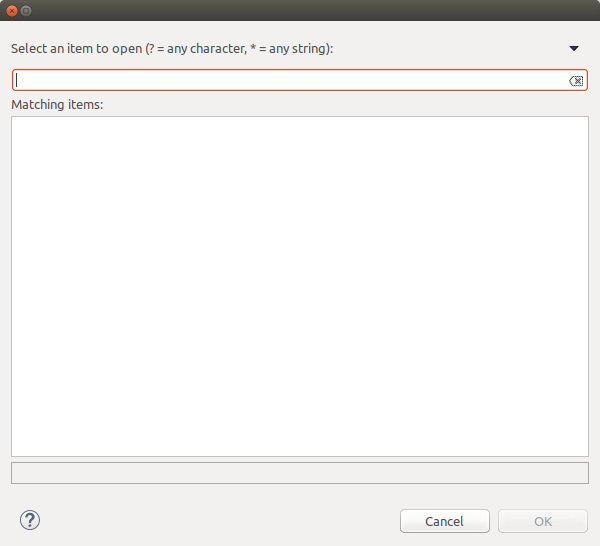
If your class doesn’t appear in the dialog you might want to check the Window>Preferences>Plug-in Development>Include all plug-ins from target in Java search option. This will list deployed classes.
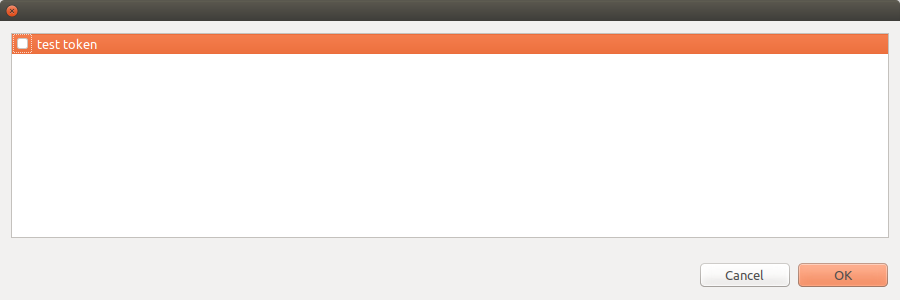
Deletewill remove the selectionSelect tokenwill add/remove services according to the selected tokens in the dialog
Template custom properties
You can use the template editor or edit them using your Microsoft Word document editor (see this page). This section will describe possible properties name and value used by M2Doc.
Variable custom properties
To define variables you can set a custom property as follow
- Name:
m:var:variable name - Value: variable type
For example:
- Name:
m:var:self - Value:
ecore::EPackage
Package custom properties
To use new Ecore packages for typing you can add the following custom property:
- Name:
m:uri:EPackage nsURI - Value:
For example:
- Name:
m:uri:https://www.eclipse.org/uml2/5.0.0/UML - Value:
Service custom properties
To import a service class with a default constructor. To use a service class with a custom constructor you can read the custom constructor section.
- Name:
m:import:qualified class name - Value: bundle symbolic name
For example:
- Name:
m:import:org.obeonetwork.m2doc.rcptt.a.ServiceClassA - Value:
org.obeonetwork.m2doc.rcptt.a
Providing new services
You can extends M2Doc by adding services to your templates using the template editor. A service is a simple Java method with at least one parameter and a return value.
Service class
There are two cases for the class containing the service: either it has a default constructor, or it has a constructor with a parameter.
Default constructor
When the class has no explicit constructor or the constructor doesn’t have any parameters. In this case you don’t need any specific development except for your service method. You can have a look at specific return types if you want to insert images, table, etc… To use your services in your template simply add them through the template editor.
Custom constructor
When there is an explicit constructor with at least a parameter M2Doc can’t instantiate your class since there is no default constructor. You need to implement the IServicesConfigurator interface. This interface link one or more options in the generation configuration to the service class in order to instantiate it. You need to use the org.obeonetwork.m2doc.ide.servicesConfigurator extension point to declare your implementation of IServicesConfigurator. If you want to use your implementation in standalone you can register it programmatically using M2DocUtils.registerServicesConfigurator().
An example of implementation can be found in the Sirius integration plug-in see the class SiriusConfigurationProvider and the extension in the plugin.xml.
Service token
The service token extension point org.obeonetwork.m2doc.ide.services.register can be used to reference a set of service classes using a token name. This token can be selected using «Select tokens» menu in the template editor.
Special return types
The M2Doc evaluation engine converts any object to a string in order to insert it in the generated document. To add flexibility in the produced document we chose to expose some special types to service creators. Those types are MElement and allow directly inserting document artifacts:
- MPagination to insert a table of contents, a new page, a new paragraph, a new column, or a new text wrapping.
- MBookmark to insert a new bookmark or a reference to a bookmark.
- MHyperLink to insert a new link to an URL.
- MImage to insert a new image.
- MTable to insert a new table.
- MText to insert styled text.
Default implementations are also provided by M2Doc in this package.
Template testing
To simplify unit testing while developing M2Doc, a JUnit test suite has been implemented. It uses a given folder as input and lists each sub directory following a naming pattern as a test case. You can use the same test suite for your own tests. An example of the test suite implementation QueryTests with the folder resources/query.
Maven
You can launch your generation using Maven and Tycho. An example is available here. You may probably need to have a look at the pom.xml file. To launch the build and the generation you can simply use the following command:
mvn clean verify
Using M2Doc programmatically
This section is for developers wanting to integrate M2Doc in their own project. It will show how to use the main features of M2Doc programmatically. Since M2Doc uses AQL for expressions it can be useful to have a look at Using AQL programmatically.
Parsing
The following sample code shows how to load a template .docx file using M2Doc:
final IQueryEnvironment queryEnvironment = org.eclipse.acceleo.query.runtime.Query.newEnvironmentWithDefaultServices(null);
final Map<String, String> options = ...; // can be empty
M2DocUtils.prepareEnvironmentServices(queryEnvironment, templateURI, options); // delegate to IServicesConfigurator
final IClassProvider classProvider = new ClassProvider(this.getClass().getClassLoader()); // use M2DocPlugin.getClassProvider() when running inside Eclipse
try (DocumentTemplate template = M2DocUtils.parse(templateURI, queryEnvironment, classProvider)) {
  // use the template
}
Validation
The validation is optional:
final ValidationMessageLevel validationLevel = M2DocUtils.validate(template, queryEnvironment);
if (validationLevel != ValidationMessageLevel.OK) {
  final URI validationResulrURI = ...; // some place to serialize the result of the validation
  M2DocUtils.serializeValidatedDocumentTemplate(documentTemplate, validationResulrURI);
}
Generation
The generation will produce the final document where M2Doc template is evaluated against the given variables. There are two levels of API for the generation: directly from the DocumentTemplate or from the Generation.
Core generation API
final Map<String, Object> variables = ...; // your variables and values
final URI outputURI = ...; // some place to serialize the result of the generation
M2DocUtils.generate(template, queryEnvironment, variables, outputURI, monitor);
Generation configuration API
final Generation generation = ...; // load from a serialized EMF model or create in memory
final IClassProvider classProvider = new ClassProvider(this.getClass().getClassLoader()); // use M2DocPlugin.getClassProvider() when running inside Eclipse
GenconfUtils.generate(generation, classProvider, monitor);